Thursday, April 29, 2010

Photomerge...


Your assignment over the next eight days (more specifics and details to come):

You will create Photomerge pictures. These are 4-5 pictures that overlap to show a wide landscape or cityscape or an action sequence or ??? be creative! (one big picture).

Your four final Photomerges should be taken at four different locations at different times of day: sunrise, afternoon, sunset, dusk, etc.

Use a tripod if possible. Remember to manual adjust white balance or select something like "cloudy" or "sunny" on your camera.


Thurs/Fri: Photomerge Basics
Tue/Wed: Photomerge shooting day
ThursFri: At least 2 photomerges due from this week
Mon: Advanced Sequenced Shooting
Tue/Wed: Shooting Day
Thurs/Fri: In Class editing

**All final locations are due next Thurs/Friday


Wednesday, April 28, 2010

SELF-P's


To Turn in:

  • 4 edited self portraits from 4 different categories.
  • on contact sheets set to 1 column, 2 rows, and rotate for best fit:

Thursday, April 15, 2010

portrait Turn In...

IN ONE FOLDER:
  • 6 edited out of class images
  • contact sheet of 40+ out of class portraits
From Wednesday
  • CS of 12 edited in class Studio Lighting pics
  • 1 favorite studio lighting portrait full size.
EVERYTHING SHOULD BE SAVED AS A .JPEG FILE. No .psd files. Thanks!

Spring Break Assignment:


self portraits!!!


The Art of Constructing a Self-Portrait

A self-portrait comes from within. Injecting 'those we love' into the portrait steers one away from the harder task to trying to reveal self without adornment.

If you eat, sleep, and live for speed then your self-portrait should reflect motion and movement as one of its cornerstones.

If you are a reflective type, then reflections and patterns and their intersections should occupy a primary space.

If overall you feel more flawed then whole, then you wouldn't want to go about photographing the most pristine parts of yourself; you would want, instead, to capture your essence in a manner that describes and defines you without complaining. I say that because the essence of self-discovery requires you to be a benign observer of self so as not to hone in too closely on this or that part.

A sense of 'wholeness' is difficult to capture at best. Indeed, wholeness is almost impossible for some people to even understand -- let alone capture in themselves -- because their persons and their lives are so fragmented, so disorganized in general.

But that is what self-portraiture is all about, capturing the whole -- the whole of who you are as a person.

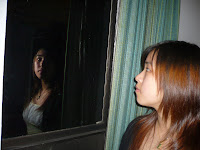
Try to be unforgiving in a benign and neutral way. Study yourself in the mirror and photograph what you see there. Then go inside yourself and photograph what you see there.
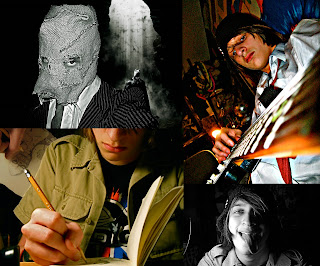

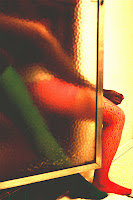
You will shoot four different good self-portraits over break (it will take LOTS of images to achieve 4 good photos). You need to pick four photo types from the following six categories, each final photo needs to come from a different category:

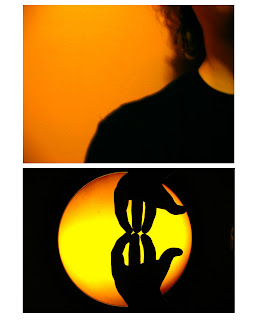
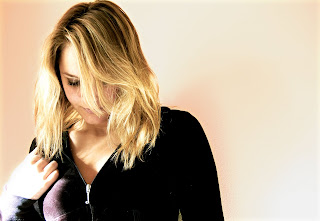
1. A self-portrait where color is emphasized. Color may include wardrobe, location, props, or natural objects. Think of your picture as a one or two color concept picture.

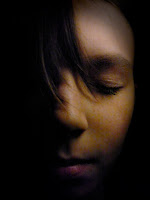
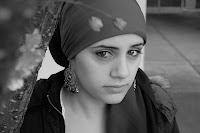
2. A picture that emphasizes lighting and shadows. This will be a grayscale self-portrait.

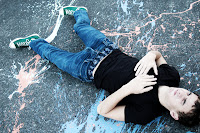
3. A self-portrait that showcases your interests and hobbies. In this picture we learn what you like to do away from school. Think about what interests you and transfer that into a photo.

4. A fantasy self-portrait. Dress up and use costumes. In this self-portrait you can use Photoshop to enhance your picture in any way, shape, or form. Transfer yourself to Hawaii or become a Viking like you have always wanted.

5. The Supermodel self-portrait. Dress up like a GQ or Cosmopolitan magazine model. This can be a grayscale or color picture. You will use Photoshop to airbrush and enhance this photo.

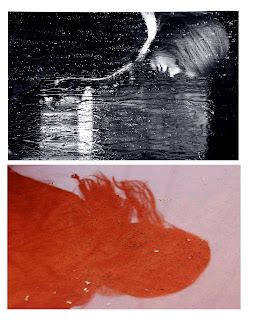
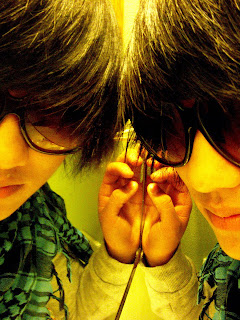
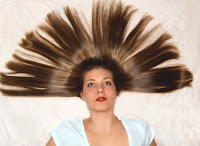
6. An abstract self portrait that focuses on textures, shapes, and interesting lines and patterns. You must be the subject of this image, but represent yourself in a creative, abstract and unique way where you are only partially recognizable...


Monday, April 12, 2010

Studio Lighting pics

You need 12 pics...

edit them as you see fit, try not to over do it, see the links below for tips. we will turn in a CS of our 12 best today along with 1 full size.

Editing Portraits

Hopefully your photo shoots have gone off without a hitch! You should have 40+ good portraits to work with. Now is time to start to edit those. You will need to edit 6 portraits (not from in class) using the following techniques:
  • A Vignette Photo
  • A Grayscale Method Photo
  • A One Item Kept in Color Photo
  • A selective Focus Photo
  • A minimally adjusted photo
  • One WHACKY anything goes portrait (change the colors, use the liquefy tool, use a PS filter, and make this as unique and interesting as you can)
Photo adjustment tips:

The Healing Brush:

http://livedocs.adobe.com/en_US/Photoshop/10.0/help.html?content=WSfd1234e1c4b69f30ea53e41001031ab64-7605.html


Red Eye"

http://www.creativepro.com/article/photoshop-how-to-five-ways-to-reduce-red-eye

For your anything goes image:
http://www.photoshoproadmap.com/Photoshop-blog/2009/03/31/35-creative-portrait-effects-photoshop-tutorials/

Color and B&W
http://digital-photography-school.com/mono-with-a-dash-of-colour-photoshop-cs2-tutorial

Thursday, April 8, 2010

What will be due Monday:

  • 12 amazing studio light pics (from a variety of stations... at least 3 - fish eye, 35mm strobe, steady light, color fill flash)
  • 40 GOOD non studio portraits of 2 subjects

Portraits -- non studio:


1. Find two interesting human subjects. The people you choose should WANT to be in the picture and they should be willing to cooperate.

2. Talk to your subject. You are the director of this adventure, make it what you want. Use colors or lighting to create a concept for your portrait. Costumes or uniforms work great. Imaginary ideas are OK. Choose an interesting setting based on your concept.

3. Change angles between shots. Shoot at least 35 pictures of EACH of your two subjects. This will give a good variety of images to pick your 40 from.

5. Change your lighting; Use filters, flashlights, lamps, or multiple lights to enhance your picture.

6. Remember you are the boss, make them change their expression. Pretend it is high fashion and they have to create the next great "look" like blue steel (Zoolander).

7. Most importantly for this assignment don't forget your composition rules. Use framing, leading lines, rule of thirds, color contrast etc. to enhance your photo. Fill the frame!!!!

HAVE FUN & BE CREATIVE!!!! try to think out of the norm to come up with a creative setting, pose, expression, outfit, etc to make an amazing portrait!!!!


Monday, April 5, 2010

4 types of lighting for class:


Short Lighting - Studio Lighting Setup


Broad Lighting - Studio Lighting Setup


Fill Flash:

http://www.shortcourses.com/images/b4ch6/timconnor.jpg


Lighting Techniques

http://www.fodors.com/focus/focselect.cfm?catid=7

Studio Lighting: Portraits....


Studio Lighting!!!
Your task this week is to shoot some interesting , creative and unique portraits using the studio lights. Remember the different lighting techniques demonstrated in class. Use the lights to add emotion, feeling, or interesting shadows to your images. Try to think out of the box, manipulate the image
with Manual settings on the camera, blur motion, stop action, take tons of pics, and have FUN! Shoot for 1/2 the period in groups of 3 to 6 per light station. Everyone should shoot their own photo session. Take turns as each others subjects. Shoot a minimum of 12 pictures per photographer. We will then edit them and make one fantastic
using your photoshop skills on Monday the 12th.