Your next assignment is VERY wide open. All you need to do is select two of the following categories and take/submit an image. You cal alternately submit two images from one category.
STILL LIFE
A photograph of an object or objects found or arranged by the photographer.
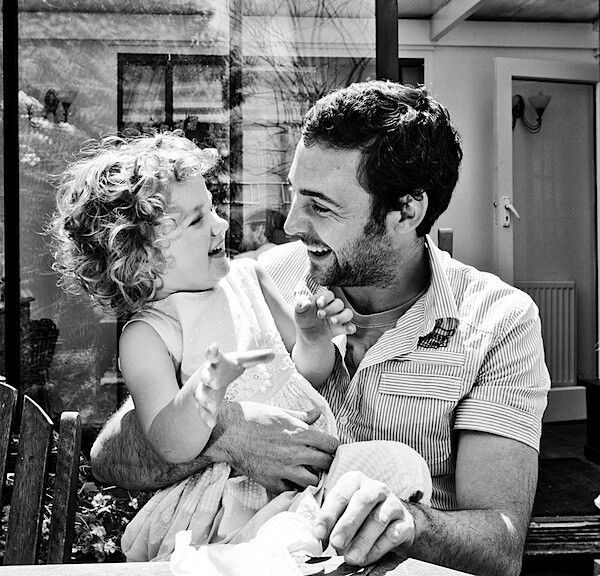
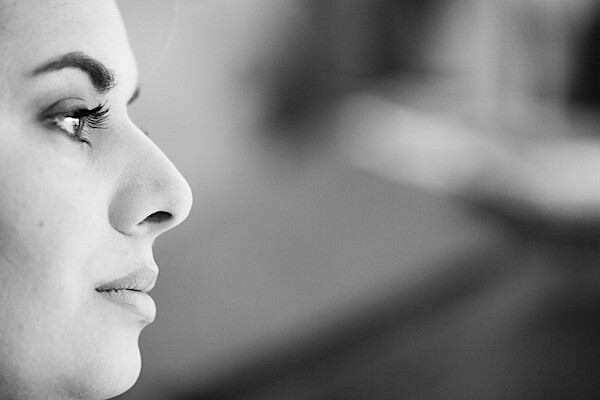
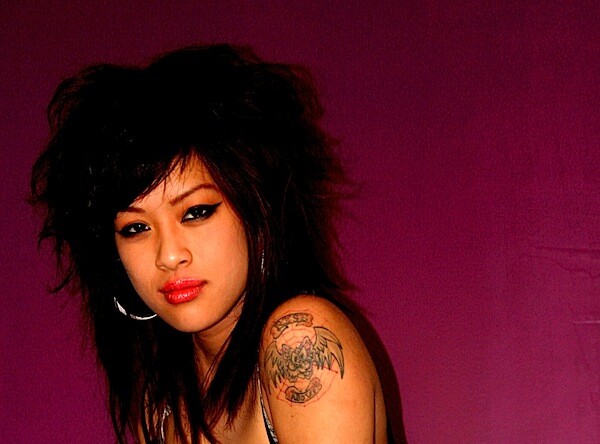
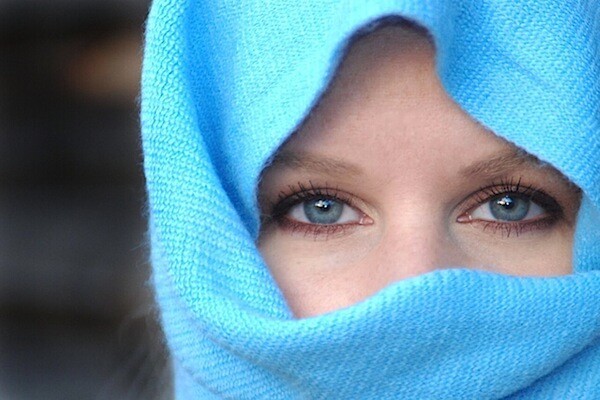
PORTRAIT
A photograph of a person, or group of people, in which the photographer controls the
pose, setting and/or lighting.
ARCHITECTURE
A photograph of a man-made structure which can include architectual details.
MANIPULATION/ALTERNATIVE PROCESS
A photograph manipulated beyond what is considered basic darkroom techniques
(Heavy use of photoshop, solarization, cyanotype, collage, etc.).
LANDSCAPE/CITYSCAPE color & digital
A color photograph or digital image of a natural or urban scene.
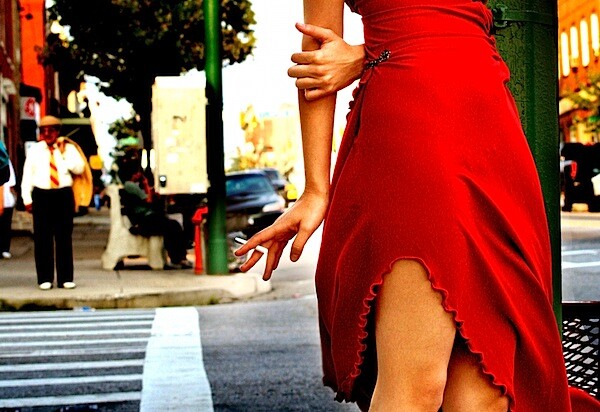
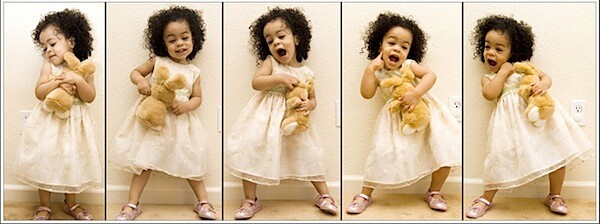
PEOPLE color and digital
A color photograph or digital image of a person or group of people.
COLOR color & digital
An image celebrating the use of color.
Have fun with it, be creative, think out of the box!
here are the 2010 winners:
http://kenmorecamera.com/wshs/2010/2010PhotoContest.htm
and the 2009 winners:
http://kenmorecamera.com/wshs/2009/2009PhotoContest.htm
Monday, April 25, 2011
Thursday, April 14, 2011
PORTRAIT TO TURN IN
All in one folder please turn in the following:
- 4 full size .jpeg images, edited, from in class
- 5 full size .jpeg images, edited 5 specific ways, from out of class
- 50 image contact sheet from out of class
- 16 image contact sheet from in class
SPRING BREAK!!! SELF P'S


self portraits!!!


The Art of Constructing a Self-Portrait
A self-portrait comes from within. Injecting 'those we love' into the portrait steers one away from the harder task to trying to reveal self without adornment.
If you eat, sleep, and live for speed then your self-portrait should reflect motion and movement as one of its cornerstones.
If you are a reflective type, then reflections and patterns and their intersections should occupy a primary space.
If overall you feel more flawed then whole, then you wouldn't want to go about photographing the most pristine parts of yourself; you would want, instead, to capture your essence in a manner that describes and defines you without complaining. I say that because the essence of self-discovery requires you to be a benign observer of self so as not to hone in too closely on this or that part.
A sense of 'wholeness' is difficult to capture at best. Indeed, wholeness is almost impossible for some people to even understand -- let alone capture in themselves -- because their persons and their lives are so fragmented, so disorganized in general.
But that is what self-portraiture is all about, capturing the whole -- the whole of who you are as a person.
Try to be unforgiving in a benign and neutral way. Study yourself in the mirror and photograph what you see there. Then go inside yourself and photograph what you see there.

You will shoot four different good self-portraits over break (it will take LOTS of images to achieve 4 good photos). You need to pick four photo types from the following six categories, each final photo needs to come from a different category:
1. A self-portrait where color is emphasized. Color may include wardrobe, location, props, or natural objects. Think of your picture as a one or two color concept picture.
2. A picture that emphasizes lighting and shadows. This will be a grayscale self-portrait.
3. A self-portrait that showcases your interests and hobbies. In this picture we learn what you like to do away from school. Think about what interests you and transfer that into a photo.
4. A fantasy self-portrait. Dress up and use costumes. In this self-portrait you can use Photoshop to enhance your picture in any way, shape, or form. Transfer yourself to Hawaii or become a Viking like you have always wanted.
5. The Supermodel self-portrait. Dress up like a GQ or Cosmopolitan magazine model. This can be a grayscale or color picture. You will use Photoshop to airbrush and enhance this photo.
6. An abstract self portrait that focuses on textures, shapes, and interesting lines and patterns. You must be the subject of this image, but represent yourself in a creative, abstract and unique way where you are only partially recognizable...


To Turn in:
- 4 edited self portraits from 4 different categories.
- on contact sheets set to 1 column, 2 rows, and rotate for best fit:
Monday, April 11, 2011
Editing Pics!!!
Today we will start editing studio pics. Thurs/Fri we will edit out of class pics.
To Edit:
Studio - your 4 best pics, one from each lighting station. Edit them as you see fit. You will be turning these in as well as a contact sheet of 16 studio pics on Thursday/Friday.
Out of class portraits:
We will edit these in 5 specific ways:
http://www.hongkiat.com/blog/30-nicest-photoshop-photo-effects-part-ii/
Other Tips:
Healing Brush

B&W adjustment layer

To Edit:
Studio - your 4 best pics, one from each lighting station. Edit them as you see fit. You will be turning these in as well as a contact sheet of 16 studio pics on Thursday/Friday.
Out of class portraits:
We will edit these in 5 specific ways:
- Vignette
- Selective Focus
- B&W
- B&W with one color
- One unique edit (change eye color, hair color, color cross, andy warhol etc) see tutorials below:
http://www.hongkiat.com/blog/30-nicest-photoshop-photo-effects-part-ii/
Other Tips:
Healing Brush
B&W adjustment layer
Friday, April 8, 2011
out of class portraits
Due on Thursday/Friday of next week:
- 50+ portraits
- of one or two people
- from 2 different locations
- with 3+ wardrobe/prop/makeup etc changes.
- lots of different angles/compositions


out of class portraits


1. Find one or two interesting human subjects. The people you choose should WANT to be in the picture and they should be willing to cooperate.
2. Talk to your subject. You are the director of this adventure, make it what you want. Use colors or lighting to create a concept for your portrait. Costumes or uniforms work great. Imaginary ideas are good. Choose an interesting setting based on your concept.
3. Change angles between shots. Shoot at least 25 pictures of EACH of your two subjects. This will give a good variety of images to pick your 30 from.
5. Change your lighting; Use filters, flashlights, lamps, or multiple lights to enhance your picture.
6. Remember you are the boss, make them change their expression. Pretend it is high fashion and they have to create the next great "look" like blue steel (Zoolander).
7. Most importantly for this assignment don't forget your composition rules. Use framing, leading lines, rule of thirds, color contrast etc. to enhance your photo. And Always Fill the frame!!!!
HAVE FUN & BE CREATIVE!!!! try to think out of the norm to come up with a creative setting, pose, expression, outfit, etc to make an amazing portrait!!!!
Tuesday, April 5, 2011
Studio Specifics
- Groups of 4 to 6
- 5 pix per PERSON per station
- use props
- experiment with lighting, angles, composition, etc
- We will have both class periods this week for in studio images
- out of class portrait assignment to come on Thursday.
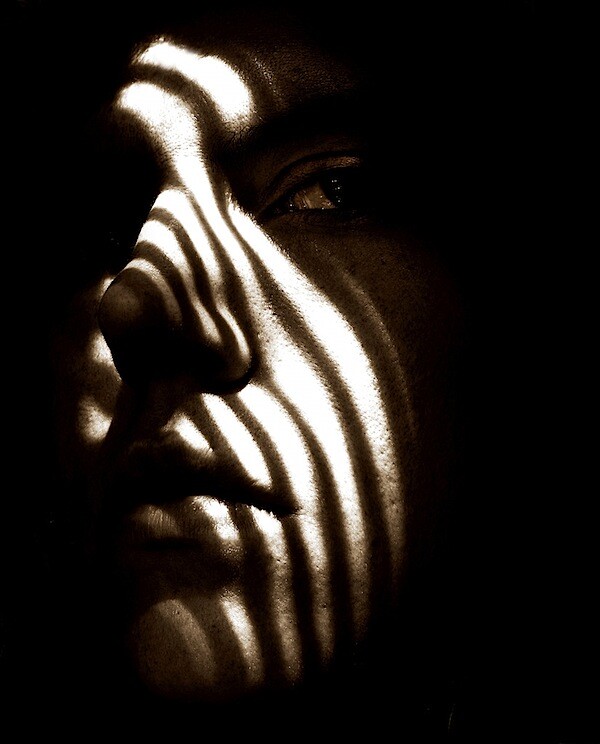
Different Lighting Styles
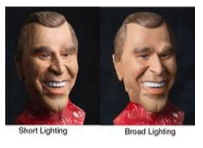
What Is Short Light?
Short light is type of studio lighting setup, where the face side which is further from the camera gets the main light. see the diagram for details. In this type of lighting setup, the side of the face which is toward the camera gets less light then the side facing away form the camera. The effect you get when using this lighting setup is a thin face, this is why it is good to photograph fat (or chubby) people with a short light setup.
Short light is type of studio lighting setup, where the face side which is further from the camera gets the main light. see the diagram for details. In this type of lighting setup, the side of the face which is toward the camera gets less light then the side facing away form the camera. The effect you get when using this lighting setup is a thin face, this is why it is good to photograph fat (or chubby) people with a short light setup.

Diagram 1 - Short Light
Let's look at a picture of a friend of mine - Winnie the poo. Looks like Winnie had allot of honey and he is quite chubby. The flash is set up to my right, and Winnie is looking to his left. This make his face look a bit thinner than what they really are. Short light is very useful in portrait photography, as it gives drama to the subject. (Short light setup also stresses skin wrinkles, to create even more drama for older people)

What Is Broad Light?
Broad light is just the opposite of Short light. In the Broad Light setup, THe side that is getting the most light is the side turning towards the camera. This setup is less commonly used for portraits as it tends to make people look chubby. See the diagram for setup.

Diagram 2 - Broad Light
Lets look at Winnie again. This picture was taken at the same focal length (135mm with 1.5 crop factor D70's sensor). This time Winnie looks very chubby. Oh Winnie! what have you been eating? Also note how the picture looks a bit flatter. There are not allot of light and shade plays.

For both types of light you can use a fill light at the opposite side to the main light, or do as I did and use a reflector at 45 deg. (see diagrams).
Conclusion:
| Light Type | Side to Get Most Light | Chubbiness | Wrinkles |
| Short Light | Away From Camera | Reduce | Intensify |
| Broad Light | Facing Camera | Increase | Reduce |


Studio Lighting in class


Studio Lighting!!!
Your task this week is to shoot some interesting , creative and unique portraits using the studio lights. Remember the different lighting techniques demonstrated in class. Use the lights to add emotion, feeling, or interesting shadows to your images. Try to think out of the box, manipulate the image with Manual settings on the camera, blur motion, stop action, take tons of pics, and ha
 ve FUN! Shoot for the period in groups of 4 to 6 per light station. Everyone should shoot their own photo session. Take turns as each others subjects. Shoot a minimum of 5 pictures per photographer per station.

Monday, April 4, 2011
Subscribe to:
Comments (Atom)