Tuesday, November 29, 2011

Portraits... your first day shooting

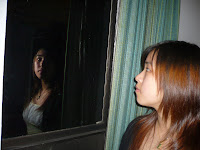
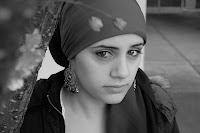
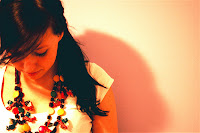
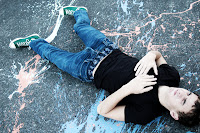
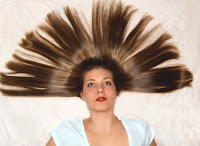
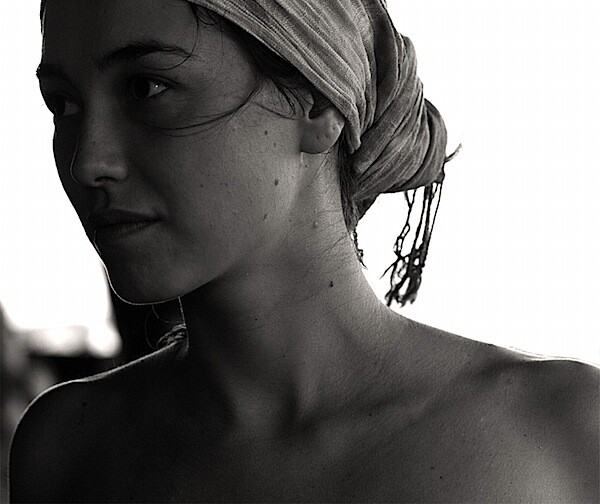
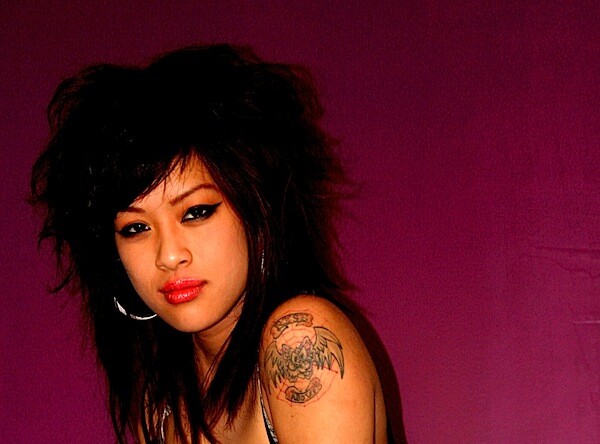
Today you are going to have the bulk of the period to take portraits, of one another!  Your task is to set up interesting scenes around SC/Shoreline.  You are going to need 15 different portraits using FOUR different techniques (see yesterday's reading).

For every shot you should consider your subject, their expression, the "mood" you want in the image, the background, the pose, and your composition.  You are the boss when shooting portraits, take charge!

***some, but not all, your pics can be candid.  some must be posed!***

  • perspective
  • eye contact
  • rules of composition
  • experiments with lighting
  • dramatic subject (out of comfort zone)
  • shoot candidly
  • introduce a prop
  • focus on a body part
  • obscure your subject
  • take a series of shots (this will require more than 15 total pics)


Sunday, November 27, 2011

Airbrush a photo

As practice, please airbrush a portrait of your favorite celebrity.  You will turn in the before and after version:


SkinSmoothing-IntroAnnimation.gif
Retouching skin is rarely an easy task. There are no absolutes when it comes to making skin look the “right” color, smoothing out wrinkles, or reducing blemishes and blotchiness. This tip will take you through one popular technique for smoothing skin texture for a younger, smoother look.

Step 1: Duplicate the background onto a new layer.

SkinSmoothing1.png
Anyone who as taken one of Jason Hoppe’s Photoshop retouching classes knows he is a strong advocate for non-destructive retouching techniques. As usual, we’ll preserve the original photo by duplicating the background image onto a new layer. Simply drag the thumbnail in the Layers palette to the New Layer icon.

Step 2: Apply the Surface Blur filter.

SkinSmoothing2.png
The Surface Blur filter was introduced in Photoshop CS2. Rather than blurring your entire image, the Surface Blur filter provides a “smart” smoothing effect that protects areas of contrast or detail. Notice in our example how the skin is smoothed, yet the pupil edges in our subject’s eyes remains crisp.
Choose Filter > Blur > Surface Blur
Blur the new layer to the point where the skin imperfections are no longer noticeable, but no further than that. The Radius option specifies the size of the area sampled for the blur. The Threshold option controls how much the tonal values of neighboring pixels must diverge from the center pixel value before being part of the blur.

Step 3: Add a Layer Mask. Reveal eyes, eyebrows, lips, etc

SkinSmoothing3-Example.png
To finish up this quick technique, we add a layer mask to our newly blurred layer. This way we can use the blurred layer to smooth out skin blemishes while allowing the crisp details from our model’s eyes, lips and hair to show through. You can approach this step in two different ways:
SkinSmoothing3-Mask1.pngOption 1: Reveal everything on the blurred layer and carefully expose the areas of detail from your underlying image. For this approach, choose Layer > Layer Mask > Reveal All, or click on the Add Layer Mask icon at the bottom of your layers pane. The layer mask will be indicated by a white icon to the right of your layer, and painting in black on that mask will expose your underlying image.
SkinSmoothing3-Mask2.pngOption 2: Hide everything and carefully paint over your original image with the smoothed skin layer. For this approach, choose Layer > Layer Mask > Hide All, or Option/Alt-click on the Add Layer Mask icon at the bottom of your layers pane. The layer mask will be indicated by a black icon to the right of your layer, and painting in white on that mask lets you reveal your newly smoothed skin.
Whichever approach you pick, you should end up with a layer like the one shown above — a virtual halloween mask that smoothes out the skin, yet with holes that let the sharper details of the original face’s eyes, lips and eyebrows show through.
SkinSmoothing3.png
Tip: To keep your subject looking natural, adjust the opacity of the blurred layer to a level that lets some of the skin’s original texture peak through — usually between 50%-80% opacity.
This is one quick way to create smoother, younger, skin in Photoshop.


Time for Portraits

Here are 10 sure fire portrait tips:


10 tips

I want to look at some ways to break out of the mold and take striking portraits by breaking (or at least bending) the rules and adding a little randomness into your portrait photography. I’ll share ten of these tips today and a further ten tomorrow (update: you can see the 2nd part here).

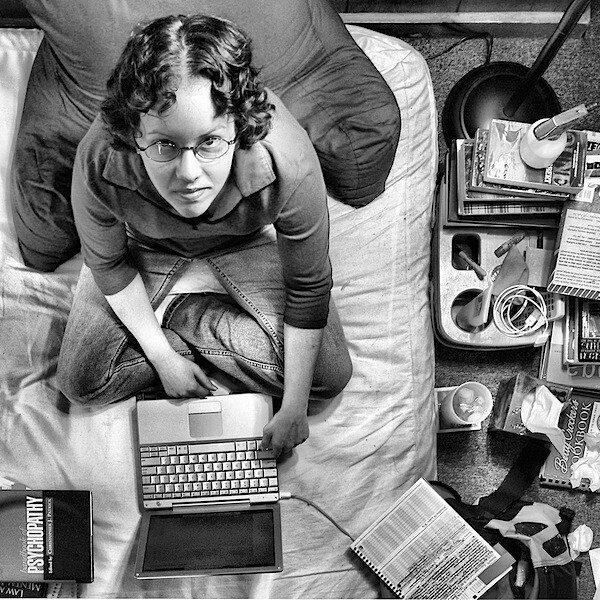
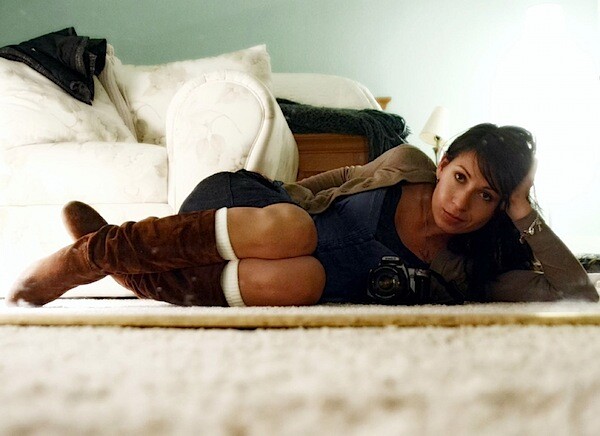
1. Alter Your Perspective

Most portraits are taken with the camera at (or around) the eye level of the subject. While this is good common sense – completely changing the angle that you shoot from can give your portrait a real WOW factor.

portrait-high-perspective.jpgPhoto by striatic

Get up high and shoot down on your subject or get as close to the ground as you can and shoot up. Either way you’ll be seeing your subject from an angle that is bound to create interest.

portrait-low-perspective.jpgPhoto by TeeRish

2. Play with Eye Contact

It is amazing how much the direction of your subject’s eyes can impact an image. Most portraits have the subject looking down the lens – something that can create a real sense of connection between a subject and those viewing the image. But there are a couple of other things to try:
A. Looking off camera – have your subject focus their attention on something unseen and outside the field of view of your camera. This can create a feeling of candidness and also create a little intrigue and interest as the viewer of the shot wonders what they are looking at. This intrigue is particularly drawn about when the subject is showing some kind of emotion (ie ‘what’s making them laugh?’ or ‘what is making them look surprised?’). Just be aware that when you have a subject looking out of frame that you can also draw the eye of the viewer of the shot to the edge of the image also – taking them away from the point of interest in your shot – the subject.

portrait-off-camera.jpgPhoto by monicutza80
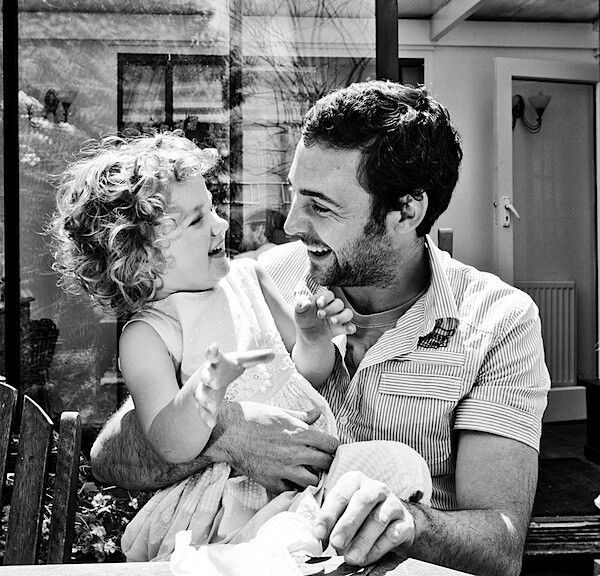
B. Looking within the frame – alternatively you could have your subject looking at something (or someone) within the frame. A child looking at a ball, a woman looking at her new baby, a man looking hungrily at a big plate of pasta…. When you give your subject something to look at that is inside the frame you create a second point of interest and a relationship between it and your primary subject. It also helps create ’story’ within the image.

portrait-eyes.jpgPhoto by paulbence

3. Break the Rules of Composition

There are a lot of ‘rules’ out there when it comes to composition and I’ve always had a love hate relationship with them. My theory is that while they are useful to know and employ that they are also useful to know so you can purposely break them – as this can lead to eye catching results.
The Rule of Thirds is one that can be effective to break – placing your subject either dead centre can sometimes create a powerful image – or even creative placement with your subject right on the edge of a shot can sometimes create interesting images.

Another ‘rule’ that we often talk about in portrait photography is to give your subject room to look into. This can work really well – but again, sometimes rules are made to be broken.

portrait-composition-rules.jpgPhoto by Bukutgirl

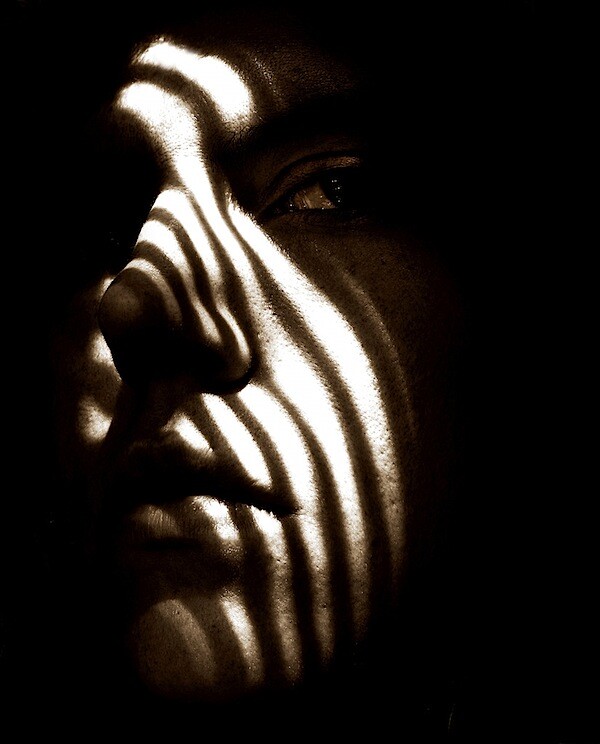
4. Experiment with Lighting

Another element of randomness that you can introduce to your portraits is the way that you light them. There are almost unlimited possibilities when it comes to using light in portraits.
Side-lighting can create mood, backlighting and silhouetting your subject to hide their features can be powerful.

portrait-lighting.jpgPhoto by Bukutgirl
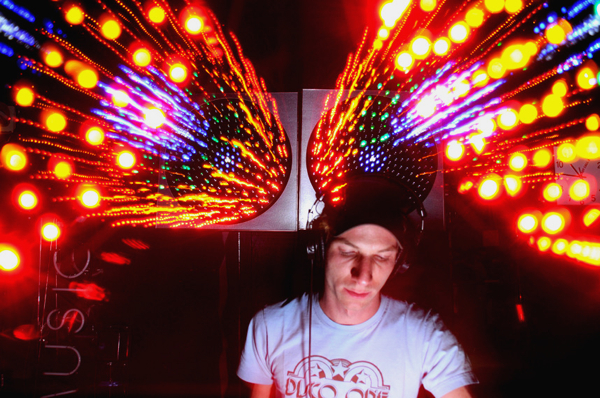
Using techniques like slow synch flash can create an impressive wow factor.
Portrait-Slow-Sync-FlashPhoto by diskomethod

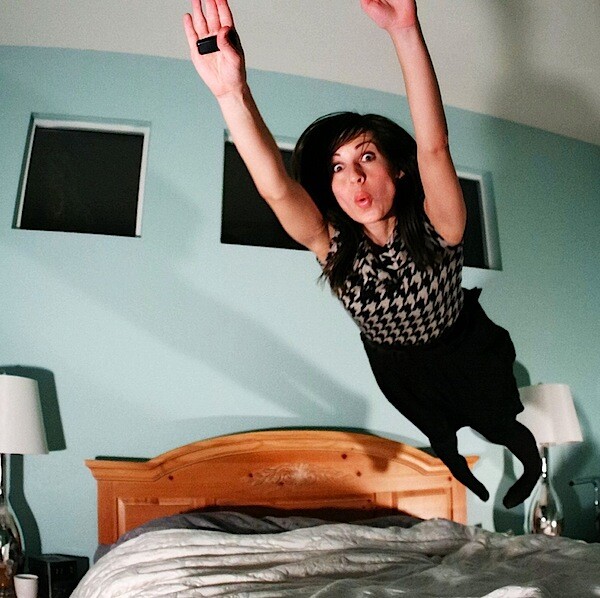
5. Move Your Subject Out of their Comfort Zone

I was chatting with a photographer recently who told me about a corporate portrait shoot that he had done with a business man at his home. They’d taken a lot of head and shoulder shots, shots at his desk, shots in front of framed degrees and other ‘corporate’ type images. They had all turned out fairly standard – but there was nothing that really stood out from the crowd.
The photographer and the subject agreed that there were plenty of useable shots but they wanted to create something ’special’ and out of the box. The photographer suggested they try some ‘jumping’ shots. The subject was a little hesitant at first but stepped out into the uncomfortable zone and dressed in his suit and tie started jumping!
The shots were amazing, surprising and quite funny. The shoot culminated with the subject jumping in his pool for one last image!
While this might all sound a little ’silly’ the shots ended up being featured in a magazine spread about the subject. It was the series of out of the box images that convinced the magazine he was someone that they’d want to feature.

portrait-comfort-zone.jpgImage by TeeRish

6. Shoot Candidly

Sometimes posed shots can look somewhat…. posed. Some people don’t look good in a posed environment and so switching to a candid type approach can work.
Photograph your subject at work, with family or doing something that they love. This will put them more at ease and you can end up getting some special shots with them reacting naturally to the situation that they are in. You might even want to grab a longer zoom lens to take you out of their immediate zone and get really paparazzi with them.
I find that this can particularly work when photographing children.

portrait-candid.jpgPhoto by phitar

7. Introduce a Prop

Add a prop of some kind into your shots and you create another point of interest that can enhance your shot.
Yes you might run the risk of taking too much focus away from your main subject but you could also really add a sense of story and place to the image that takes it in a new direction and gives the person you’re photographing an extra layer of depth that they wouldn’t have had without the prop.

portrait-prop.jpgPhoto by Mrs. Maze

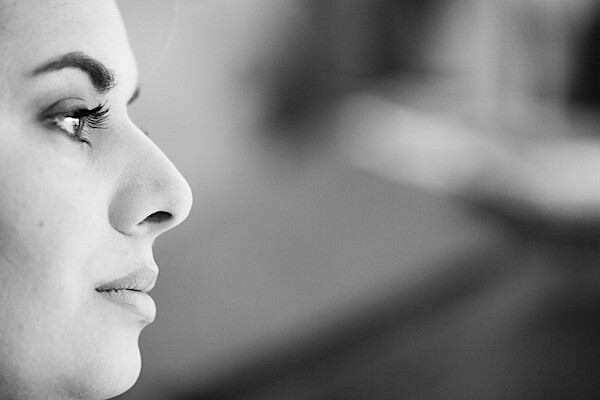
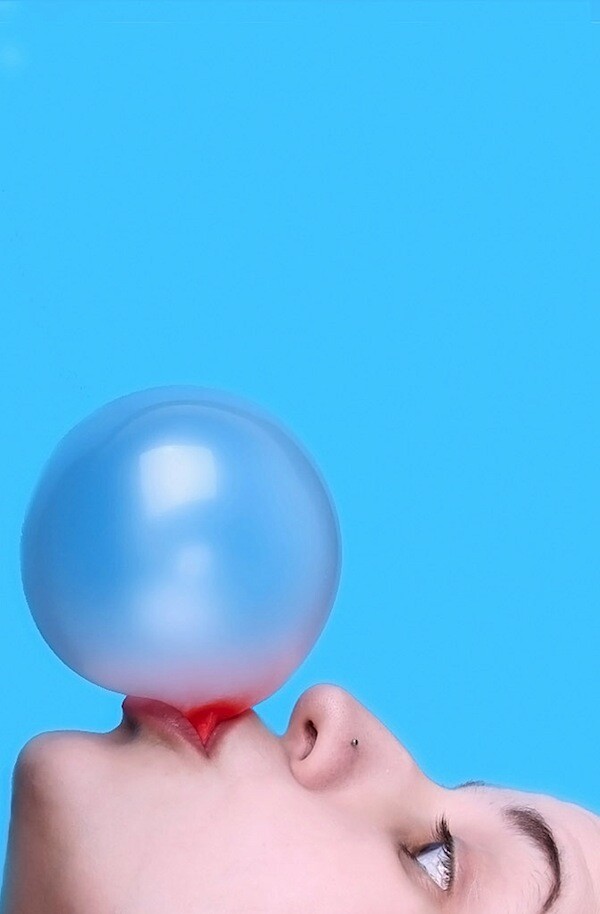
8. Focus Upon One Body Part – Get Close Up

Get a lens with a long focal length attached to your camera – or get right in close so that you can just photograph a part of your subject. Photographing a person’s hands, eyes, mouth or even just their lower body… can leave a lot to the imagination of the viewer of an image.
Sometimes it’s what is left out of an image that says more than what is included.

portrait-close up.jpgPhoto by Bukutgirl

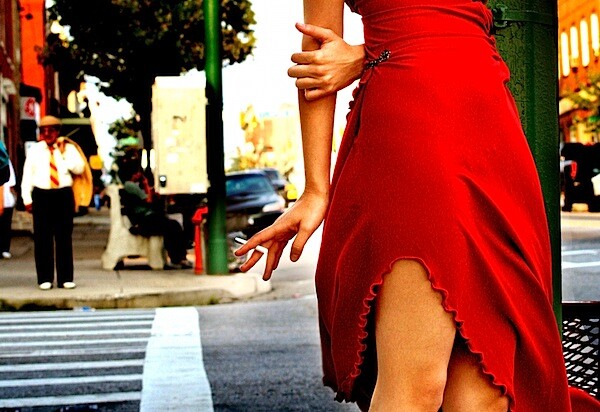
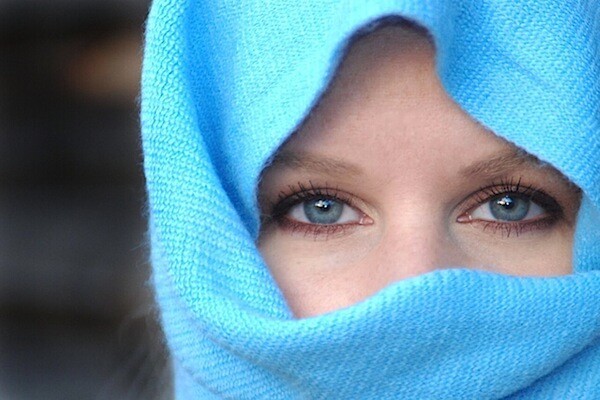
9. Obscure Part of your Subject

A variation on the idea of zooming in on one part of the body is to obscure parts of your portrait subject’s face or body. You can do this with clothing, objects, their hands or just by framing part of them out of the image.
Doing this means that you leave a little to the imagination of the image’s viewer but also focus their attention on parts of your subject that you want them to be focused upon.

portrait-obscure.jpgPhoto by BigBlonde

10. Take a Series of Shots

Switch your camera into ‘burst’ or ‘continuous shooting’ mode and fire off more than one shot at a time.
In doing this you create a series of images that could be presented together instead of just one static image.
This technique can work very well when you’re photographing children – or really any active subject that is changing their position or pose in quick succession.

portrait-continuous shooting.jpg

Monday, November 21, 2011

TO TURN IN TODAY

You will turn in a fall images folder containing:
  • 4 different edited images from 4 techniques
  • a contact sheet of 40 fall pics

Editing your fall pics

You should have 40+ amazing, interesting, unique and captivating fall themed images by today.  Now it is time to edit them.


Here are a few ways to edit your fall pics. Please choose FOUR techniques from of the following list and edit your best 4 images.


You are not bound simply to the techniques below, but each image should be edited using one of the techniques demonstrated:

Cross Processing
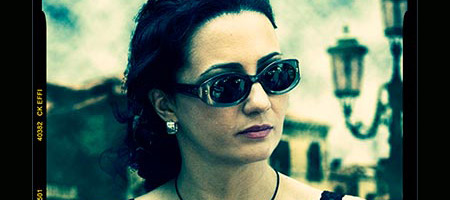
Cross Processing
Cross processed photographs are recognisable from the unusual colours and tones in the final shot. The effect was originally produced from developing the photographic film using the wrong mix of chemicals. Nowadays, a cross processed style can be simply achieved in just a few steps. Photoshop Support shows us how.

Street Photography
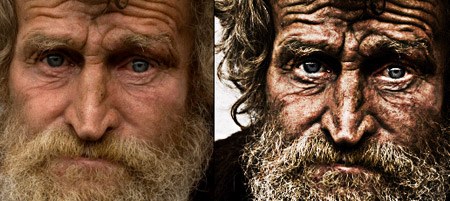
Street Photography
One of the most recognisable street photography shots is ‘Homeless Mike’ by Leroy Skalstad. The gritty, high contrast style of the image really emphasises the nature of street life. Recreate a similar image with this Dramatic Gritty Effect by Photoshop Frenzy.

Lomo Photography

Lomo Photography
The Russian made Lomo LC-A camera was manufactured a cheap alternative to the higher quality Japanese rivals. It was poorly made and the photographs it produced were just as bad, however as time passed popular culture brought the mis-coloured shots from the Lomo camera into a whole new light, which is now a very sought after effect. Not everyone has the opportunity of trying out the original camera model, but Digital Photography School has some great tips on mimicking the effect in Photoshop.

Vintage Photo Effect
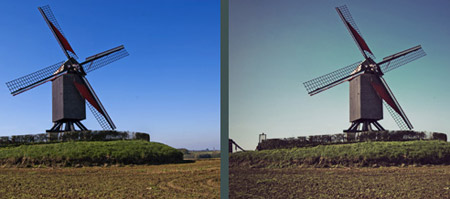
Vintage Photo Effect
With limited technology the early colour photographs often had poor colour reproduction, with shots having an obvious colour casts and inaccurate tones. Today the effect can transform a photograph, instantly sending it back in time to give the impression of an aged effect. Veerle takes us through some techniques for producing a vintage style photo using a few simple Photoshop tweaks.

Tilt Shift Photography
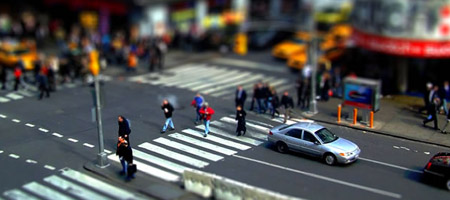
Tilt Shift Photography
Tilt Shift is a photographic technique where the image plane is rotated, giving a very shallow depth of field but maintaining sharpness in a specific area of the shot. One of the popular post processing effects related to tilt shift photography is known as miniature faking, where the depth of field manually added to a shot gives the illusion of tiny model figures and sceneries. TiltShiftPhotography.net has this fantastic overview of creating the effect yourself.


The Velvia Effect
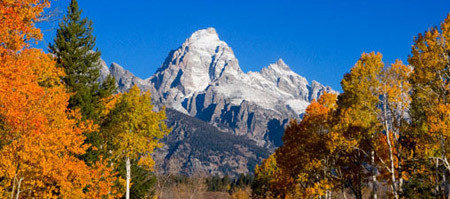
The Velivia Effect
Fujifilm Velvia film created highly saturated, largely contrasting and extremely sharp images, which made it particularly popular with nature and landscape photographers. PSHero takes a look at using modern day Photoshop techniques to recreate the Velvia effect.

Dark Grunge Photo Effect
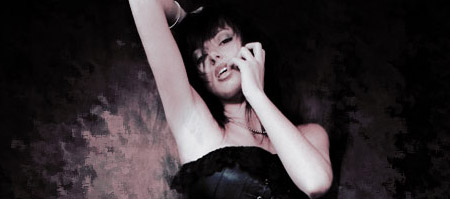
Grunge Photo Effect
The term grunge has evolved from the music genre also known as Seattle Sound, characterized by stripped down sounds and heavily distorted guitars. The term grunge also made its way into photo post processing, where the key features are muted colours and large areas of texture and grain. PSHero has this excellent tutorial for creating your own dark grunge photo effect.

HDR Photography
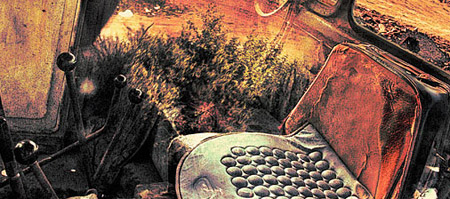
HDR Photographyhttp://still-scripts.com/photoshop/faking-the-hdr-effect-using-only-one-photo-and-photoshop/
High Dynamic Range Imaging is a photography technique that produces an image with a much larger range of luminance between the darkest and lightest areas, making it much closer to the spectrum seen by the human eye. More recently the effect has been pushed to the max, with heavy tone mapping producing an abstract and highly stylised photo effect. The genuine effect is created with various RAW images and processing software, but the Nill Photoalbum has this great tutorial for producing a similar style directly in Photoshop.

Movie Photo Effect
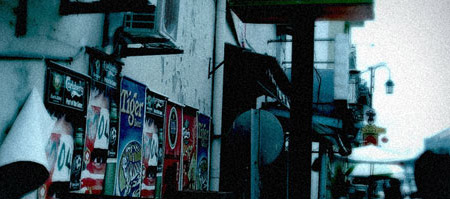
Movie Photo Effect
Alongside post processing, the video filming of movies often involves a range of camera filters. Ebin has this fantastic tutorial for creating a polished movie-like effect complete with diffusion glow and temperature tweaks in Photoshop.
Thursday, November 17, 2011

Fall into Fall...

It is nearly winter, and before we miss it we need to catch some of what fall has to offer on your camera.  With fall comes some great opportunities to take epic pictures!! Fall colors are amazing, flowers are still in bloom, trees are changing color, harvest moons, pumpkin patches,snow is starting to fall, and soooo much more!

We have leaned MANY compositional techniques for taking great images and you have shot landscapes and abstracts, two very different subject matter, now takes all those skills and interpret the assignment as you may. YOUR TASK: Fall Colors. Capture the intense colors of this season with your camera, in an interesting way.


You will need 40+ good interesting, unique, creative, fall themed images. We will be learning some new PS techniques to edit these images.

  • EVERY IMAGE SHOULD BE SHOT WITH THE CAMERA IN MANUAL MODE AND IN RAW SO WE CAN SEE THE EXPOSURE!!!

Tuesday, November 15, 2011

Our shooting task

BRACKETING:


We are going to be adjusting the aperture & shutter (setting the ISO just once) in manual mode today.

The steps are:


  • Set image quality to RAW
  • Set ISO to 400
  • Find a magical scene to photograph (remember compositional rules)
  • adjust aperture and shutter so your light meter is centered
  • Take pic
  • re-adjust aperture and shutter to DIFFERENT settings but so that your light meter is still centered
  • Take pic
  • Adjust one more time.
  • Take pic


A series of images demonstrating a focus bracket. The image on the left shows
a single shot taken at f/10 with the features of the fly closest to the camera.
The center image shows the features farthest from the camera.
The image on the right shows focus stacking: a sequence of six incrementally
focused images of the fly assembled to make a composite image using CombineZM.


F-stops are the hole in the lens that lets the light in. The number is just the bottom (ok, the denominator) of a fraction.
  • When the lens is set to f2, the hole in the lens is 1/2 as big as the lens is long.
  • When the lens is set to f8, the hole in the lens is 1/8th as big as the lens is long.
  • Which hole is bigger, 1/2 or 1/8?
  • Which hose would let more water through, one that's a half inch in diameter or one that's one-eighth in diameter? (See, there's the first plumbing parallel.)
  • Which f-stop lets in more light, f2 or f8?
Shutter speeds control how long the lens lets the light in. The number is just the bottom (ok, the denominator) of a fraction.
  • When the shutter speed is set to 125, light comes in for 1/125th of a second.
  • When the shutter speed is set to 8, light comes in for 1/8th of a second.
  • Which is longer, 1/125th  or 1/8th?
  • If you leave the water turned on for 1/8th of an hour (7.5 minutes), does more water flow than if you leave it turned on for 1/125th of an hour (less than 30 seconds)? (Another plumbing parallel.)
  • Which shutter speed lets in more light, 1/8th or 1/125th?
Shutter speeds also control the action-stopping ability of the camera.
  • If you aim a garden hose at your girlfriend and she is running, how much of her gets wet if you only open the nozzle for 1/1000th of a second?
  • How much gets wet if you open the nozzle for 1/4 of a second?
  • How much will you like it when she hits you with the bucket because you turned the hose on her?
  • Here's the plumbing parallel - moving subjects move farther the longer the shutter is open (the longer the hose is turned on.) The more a subject moves during the exposure time (the length of time the shutter is open), the more the image of the subject moves across the film. The more the image moves across the film, the more blurred the image becomes. Short exposure times "freeze" action.
  • Which shutter speed freezes action better, 1/8th or 1/500th?
A sunny day is like a high pressure hose
  • If the light is bright, it's like strong water pressure.
  • It takes less time for just enough light to get to the film.
  • High shutter speeds are more suitable for bright light.
  • Longer shutter speeds are suitable for dim light, just as you'd leave the faucet turned on longer to fill up a glass if the water pressure is low.
Film speeds can be compared to measuring cups
  • Let's think of the film speed rating (ISO or ASA or DIN) as a standardized measuring cup.
  • Fast films are like small measures. Let's call ISO 800 1 pint.
  • We'll call ISO 100 8 pints (that's a gallon.)
  • Which takes longer to fill up, a gallon or a pint?
  • Which takes longer to properly expose, ISO 100 film or ISO 800?
  • Plumbing and photography: Slow films (large containers) require bigger f-stops (larger diameter hoses) and/or longer exposure times (leaving the hose turned on longer) for proper exposure.

iso, aperture, and shutter


To be able to truly control your digital SLR to take pictures the way your mind envisioned them, you need to master at least the 2 basic mechanisms : Exposure and Focusing. I will cover Exposure in this article.
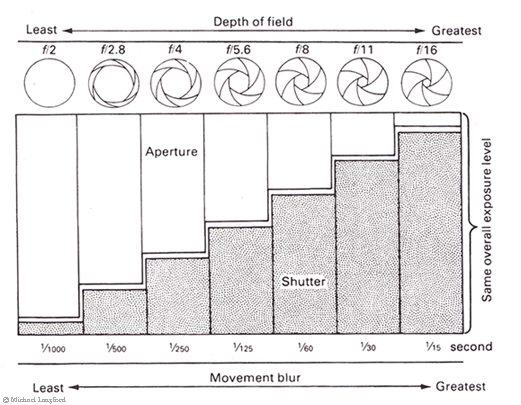
Assuming the ISO setting is constant, correct exposure is controlled by a combination of aperture and shutter speed. The camera has a built-in exposure meter, which appears as a dotted scale that runs from positive to negative, with a 0 point in the center. The job of the meter is to tell you if you are overexposing the shot (indicated by the pointer appearing on the positive side of the scale) or underexposing the shot (pointer would be on the negative side).
There is no absolute right or wrong exposure, so use the camera’s built-in meter only as a guide. Exposure is measured using a system of F-stops. These stops are controlled by moving the control dials on your DSLR body.
On most higher-end DSLRs there is one dial for aperture, and a second dial for shutter speed. Budget DSLRs tend to have only one dial, which by default controls the shutter speed, while the aperture is controlled by holding down the EV button (indicated usually by a +/- sign) and then moving the dial.
1 stop on your camera could mean either 3 clicks (moves) on the dial if you have set your camera at 1/3 increments, or 2 clicks if you’ve chosen 1/2 increments. I personally use 1/2 for speedy changing of exposure settings.
In Program/Auto mode
The camera will choose this combination for you.
In Aperture Priority mode
You set the aperture and the camera will set the shutter speed based on your choice of aperture.
In Shutter Priority mode
You set the shutter speed and the camera will set the aperture based on your choice of shutter speed.
In Manual mode
You set both the aperture and shutter speed. The camera will let you know if it’s underexposed or overexposed through the camera’s built-in exposure meter, but you have the ultimate control.
Shifting the Exposure
Assuming your camera meter has advised 1/500 (shutter speed) and F4 at ISO 100, for a proper exposure of a scene. In order to use back the same exposure but increase the depth-of-field (by using a higher F-stop) we can shift the exposure by counting clicks. Moving the aperture from F4 to F11 will take 8 clicks (if you have set it at 1/2 increments). Without even looking at the meter again, we can confidently move the shutter speed down by 8 clicks to 1/60 and get exactly the same exposure. This is all assuming the ISO does not change.
The Exposure Triangle: ISO, Aperture and Shutter Speed
ExposureTriangle Aperture, Shutter Speed, ISO : Exposure

Aperture
f8 f11 f16
Shutter Speed label 1 60 Aperture, Shutter Speed, ISO : Exposure exposure lightest Aperture, Shutter Speed, ISO : Exposure exposure light Aperture, Shutter Speed, ISO : Exposure exposure correct Aperture, Shutter Speed, ISO : Exposure
label 1 125 Aperture, Shutter Speed, ISO : Exposure exposure light Aperture, Shutter Speed, ISO : Exposure exposure correct Aperture, Shutter Speed, ISO : Exposure exposure dark Aperture, Shutter Speed, ISO : Exposure
label 1 250 Aperture, Shutter Speed, ISO : Exposure exposure correct Aperture, Shutter Speed, ISO : Exposure exposure dark Aperture, Shutter Speed, ISO : Exposure exposure darkest Aperture, Shutter Speed, ISO : Exposure