 | |||
Tuesday, December 20, 2011
Monday, December 19, 2011
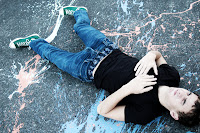
Winter Break Assignment
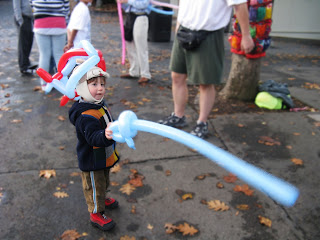
Awkward Family Photos!
Get creative, get creepy, get out of the box, and take some form of an odd, unique, creative, thought provoking awkward family portrait. It does not need to contain your real family, get some friends, your neighbor, little sister, or dog to help pose up an amazingly awkward image!


 Disclaimer: YOUR PHOTOS MUST BE CLASSROOM APPROPRIATE. THE CONTENT SHOULD BE SILLY, BUT NOT OF A SEXUAL NATURE.
Get creative, get creepy, get out of the box, and take some form of an odd, unique, creative, thought provoking awkward family portrait. It does not need to contain your real family, get some friends, your neighbor, little sister, or dog to help pose up an amazingly awkward image!

Ad turn in
please submit the following:
- contact sheet with your 45 pcis (15 of each)
- 3 full size images, one of each style, with text
Thursday, December 15, 2011
Advertising Images
You will need 15 images of each type for your product:


- 15 isolated pics
- 15 still life pics (tell a story about your product)
- 15 candid in use/context pics


Tuesday, December 13, 2011
advertising pics!
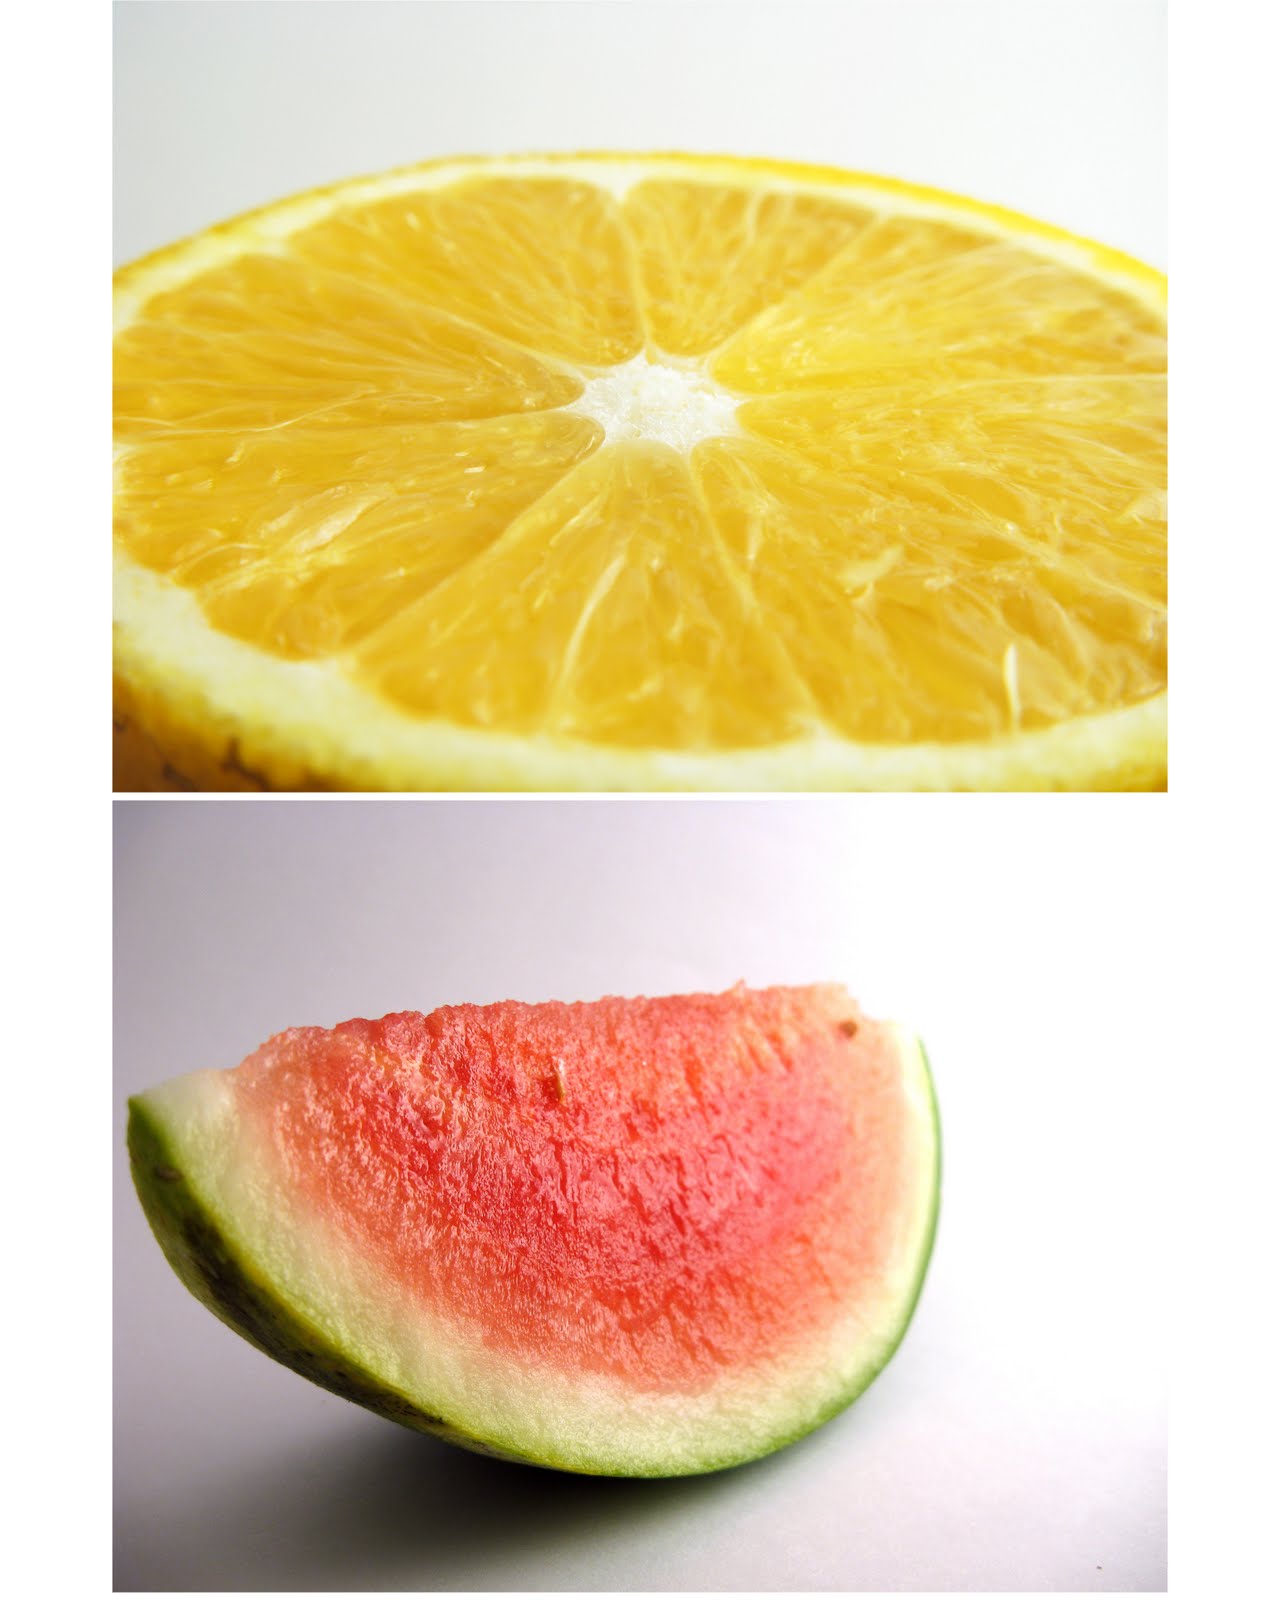
With a simple sheet of paper and some light, you can make a great, easy light box:

and result in some captivating images of your product:


Monday, December 12, 2011
Tuesday/Wednesday
You MUST bring your product with you. We will be working on 2 types of shooting. Bring your product and any related items you think might make for an interesting scene or setting to market your item(s) with.
Marketing & Advertising Photography
The four Ps of Advertising Photography are defined broadly as –
You need to know these 4 P's to be able to sell to your targeted audience. Please figure out the 4 P's for your product.
- Product. What is it, exactly, that you are trying to sell? How clearly have you defined it? Have you defined your product based on what’s convenient for you to sell — or based on what customers actually want to buy?
- Place. Where can people buy your product? Do they have to call you? Can they fill out a form online? Can they place an order with you through another vendor?
- Promotion. How are you getting the word out? Are you distributing press releases? Buying ads? Blogging? Have you set up a referral network?
- Person. who is your target audience, age, income level, gender, etc.
You need to know these 4 P's to be able to sell to your targeted audience. Please figure out the 4 P's for your product.
- Your product isolated:

Your product in use/context:

With a combination of these three types of images you can create an ad campaign for your product for use in a variety of media.
Friday, December 9, 2011
Apply to be on the Radio!
Get involved with local media and become a student radio personality:
http://www.kuow.org/radioactive/
http://www.kuow.org/radioactive/
Thursday, December 8, 2011
Portrait Turn in
All in one folder named Your Name_Portraits:

- 40 picture contact sheet from out of class
- 4 edited amazing out of class pics (using 4 techniques)
- 4 best in class pics on a contact sheet (one from each station)
Wednesday, December 7, 2011
College Credit!!!
Did you know you can get 4 college credits for taking digital photography and earning a "B" or better?
Sign up here:
http://sers.techprepwa.org/
Sign up here:
http://sers.techprepwa.org/
Tuesday, December 6, 2011
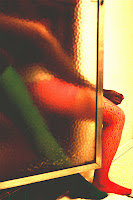
editing lighting
glamour lighting:
http://ttutorials.blogspot.com/2009/05/dreamy-portrait.html
vintage effect:
http://www.photoshopessentials.com/photo-effects/hand-tint/
http://ttutorials.blogspot.com/2009/05/dreamy-portrait.html
vintage effect:
http://www.photoshopessentials.com/photo-effects/hand-tint/
Editing your Out of Class Portraits
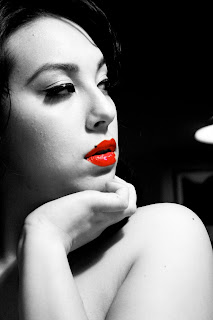
- B&W
- B&W with something left in color
- Vintage/Hand Tinted image
- Glamours lighting, soft focus, "dreamy" effect
Thursday, December 1, 2011
PORTRAIT HOMEWORK
Aside from the in class studio pics, you have a portrait assignment that you will have NO class time to shoot. This should be shot over the 3 day weekend. You are going to need 40 GOOD images, from at least 3 locations/settings and a minimum of 3 different wardrobe/makeup/prop changes.
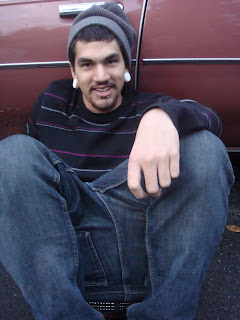
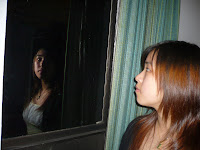

1. Find no more than 2 interesting human subjects. The people you choose should WANT to be in the picture and they should be willing to cooperate.
2. Talk to your subject. You are the director of this adventure, make it what you want. Use colors or lighting to create a concept for your portrait. Costumes or uniforms work great. Imaginary ideas are OK. Choose an interesting setting based on your concept.
3. Change angles between shots. Shoot at least 35 pictures of EACH of your two subjects. This will give a good variety of images to pick your 40 from.
4. Change your lighting; Use filters, flashlights, lamps, or multiple lights to enhance your picture.
5.
Remember you are the boss, make them change their expression. Pretend
it is high fashion and they have to create the next great "look" like
blue steel (Zoolander).
6. Most importantly for this assignment
don't forget your composition rules. Use framing, leading lines, rule
of thirds, color contrast etc. to enhance your photo. Fill the
frame!!!!
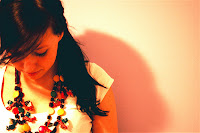
HAVE FUN & BE CREATIVE!!!! try to think out of the norm to come up with a creative setting, pose, expression, outfit, etc to make an amazing portrait!!!!
HAVE FUN & BE CREATIVE!!!! try to think out of the norm to come up with a creative setting, pose, expression, outfit, etc to make an amazing portrait!!!!
Reading
When your group is NOT shooting today, you should read the following article and take notes!
http://photo.net/learn/lighting/choosing-studio-lighting/
http://photo.net/learn/lighting/choosing-studio-lighting/
Studio Lighting Shooting Assignment


Studio Lighting!!!
Your task this week is to shoot some interesting , creative and unique portraits using the studio lights. Remember the different lighting techniques demonstrated in class. Use the lights to add emotion, feeling, or interesting shadows to your images. Try to think out of the box, manipulate the image with Manual settings on the camera, blur motion, stop action, take tons of pics, and ha
 ve FUN! Shoot for the period in groups of 4 to 6 per light station. Everyone should shoot their own photo session. Take turns as each others subjects. Shoot a minimum of 5 pictures per photographer per station.

Different Lighting Techniques
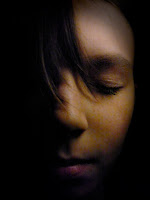
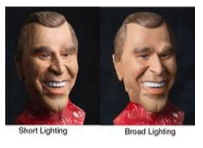
What Is Short Light?
Short light is type of studio lighting setup, where the face side which is further from the camera gets the main light. see the diagram for details. In this type of lighting setup, the side of the face which is toward the camera gets less light then the side facing away form the camera. The effect you get when using this lighting setup is a thin face, this is why it is good to photograph fat (or chubby) people with a short light setup.
Let's look at a picture of a friend of mine - Winnie the poo. Looks like Winnie had allot of honey and he is quite chubby. The flash is set up to my right, and Winnie is looking to his left. This make his face look a bit thinner than what they really are. Short light is very useful in portrait photography, as it gives drama to the subject. (Short light setup also stresses skin wrinkles, to create even more drama for older people)

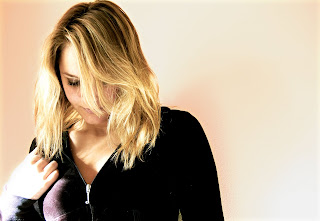
What Is Broad Light?
Broad light is just the opposite of Short light. In the Broad Light setup, THe side that is getting the most light is the side turning towards the camera. This setup is less commonly used for portraits as it tends to make people look chubby. See the diagram for setup.

Lets look at Winnie again. This picture was taken at the same focal length (135mm with 1.5 crop factor D70's sensor). This time Winnie looks very chubby. Oh Winnie! what have you been eating? Also note how the picture looks a bit flatter. There are not allot of light and shade plays.

For both types of light you can use a fill light at the opposite side to the main light, or do as I did and use a reflector at 45 deg. (see diagrams).
Conclusion:
Short light is type of studio lighting setup, where the face side which is further from the camera gets the main light. see the diagram for details. In this type of lighting setup, the side of the face which is toward the camera gets less light then the side facing away form the camera. The effect you get when using this lighting setup is a thin face, this is why it is good to photograph fat (or chubby) people with a short light setup.
Diagram 1 - Short Light
Let's look at a picture of a friend of mine - Winnie the poo. Looks like Winnie had allot of honey and he is quite chubby. The flash is set up to my right, and Winnie is looking to his left. This make his face look a bit thinner than what they really are. Short light is very useful in portrait photography, as it gives drama to the subject. (Short light setup also stresses skin wrinkles, to create even more drama for older people)
What Is Broad Light?
Broad light is just the opposite of Short light. In the Broad Light setup, THe side that is getting the most light is the side turning towards the camera. This setup is less commonly used for portraits as it tends to make people look chubby. See the diagram for setup.
Diagram 2 - Broad Light
Lets look at Winnie again. This picture was taken at the same focal length (135mm with 1.5 crop factor D70's sensor). This time Winnie looks very chubby. Oh Winnie! what have you been eating? Also note how the picture looks a bit flatter. There are not allot of light and shade plays.
For both types of light you can use a fill light at the opposite side to the main light, or do as I did and use a reflector at 45 deg. (see diagrams).
Conclusion:
| Light Type | Side to Get Most Light | Chubbiness | Wrinkles |
| Short Light | Away From Camera | Reduce | Intensify |
| Broad Light | Facing Camera | Increase | Reduce |


Subscribe to:
Comments (Atom)