

Get a Picture!!
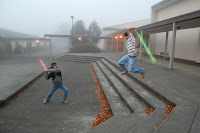
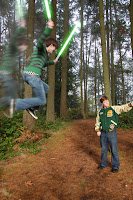
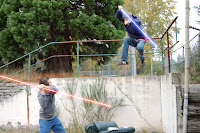
 Take a picture of yourself in an action scene. We have pipes that will act as the basis for your sabers. Import your best pic.
 Make an new Layer
 Hold CTRL+SHIFT+N.
Or go to LAYER-NEW-LAYER.
That will bring up the New Layer window.
Call it like Lightsaber or thing.
You can choose your color for the layer.
Hit OK and your layer will be displayed in the layer box
Brushes
 On the toolbox press the brush button.
Go to BRUSH box on top where brush is displayed.
Click on the brush, that will bring an box with layers.
Select the brush with outside blur.
If the brush isnt there, choose basic brushes from the preset menu.
Lets Begin!!
 Once brush selected, click on the bottom of the stick and hold SHIFT.
Go to the top of the stick ( in my case outside the image,) and click again.
You see you have an nice blured core!
You can let go shift.
Effects
 Now double click your layer.
In my case; Lightsaber.
That will bring out the layer style menu.
Click on Outer Glow and you will see a little yellow colored box.
Click on that box and choose your color.
I will do Green.
Then go to the Opacity Line and make that 100%.
Your saber will be brighter.
Go to the Contour box displayed on the bottom of the window.
select the half round one.
That will make your saber even more Blurry.
Done!
 Hit OK and you are done!!!!
This effect will make your Pic's more reality!
SOME TIPS;
--If you want more sabers from the same color, dont make new layers.
Just repeat step 4!
--Try to make your sabers the same diameter as the stick.
--Use small sticks.
No comments:
Post a Comment