Broad Lighting
Here I want to say not a particular light pattern, but somewhat a combination of light patterns with subject's and main light's orientation to the camera. As you noticed, all light patterns were shown for a full face view. When you turn the subject's face to 3/4 view you have two choices to place the main light, which will create different effects. Broad lighting will create an effect of a broad face, because the wider [visible] part of the face, neck and shoulders will be lit and as such more prominent in the photograph. This approach is flattering mostly for slim and thin people, don't use it with heavy people, it will produce the opposite effect.
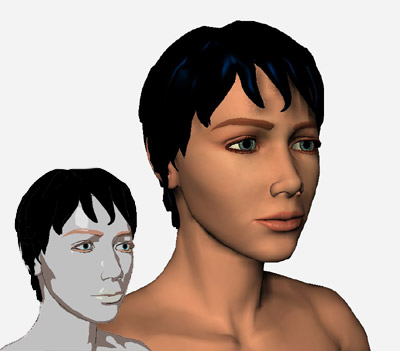
To achieve this effect you have to place the main light to the opposite side from the direction of the subject's face. So if the subject looks to your left (to the camera's left) - as shown below - you place the main light to your (camera's) right or very close to the camera.
Short Lighting
This approach is opposite to the broad lighting and achieves opposite results, it reduces the visible part of the subject's face, neck and shoulders that are lit by the main light. As the result, the heavy people with such approach seem thinner, which creates a flattering effect.
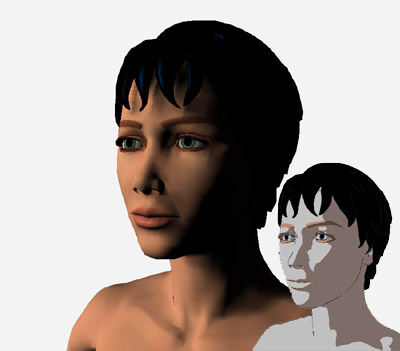
The diagram below shows the main light placement in relation to the camera and the subject. In contrary to the broad lighting the main light is placed in front of the subject's face (butterfly light pattern is often used with this approach. ![[end of the text]](http://www.romanzolin.com/img/misc/text_end.png "End of the article")
No comments:
Post a Comment